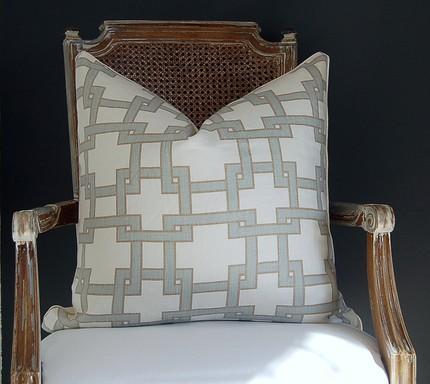
After ooh-ing and ahh-ing over Calico Corners here and here, I finally scared up a few yards of my faaaaaavorite, swoon-worthy fabric – Thom Filicia’s City Square in Mistymorn – and busted a move on some throw pillows.
I whipped ’em up chez Bud & Ruth (the GP’s) over Thanksgiving. As you can imagine from the photo below, a trip to their house is never anything short of entertaining. Bud taught me a lot of neat tricks when I was a kid, like “pull my finger.”
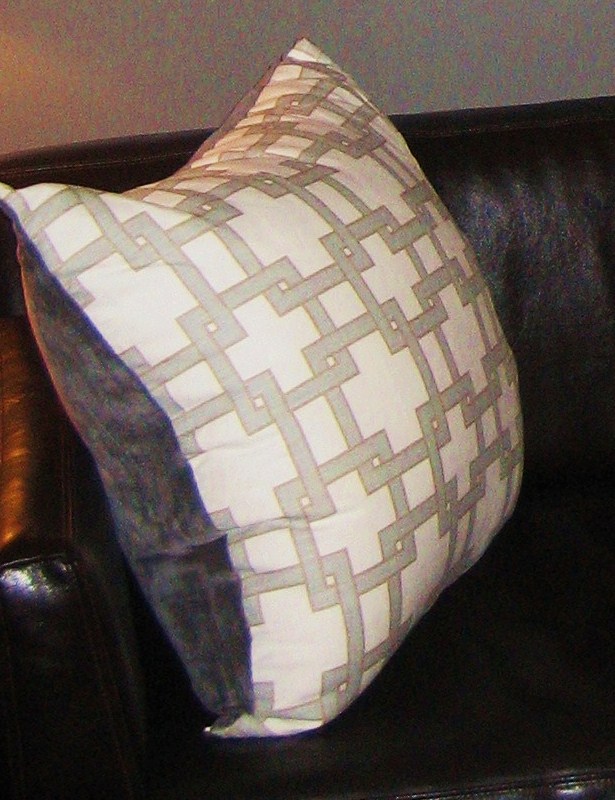
I had 2 yards of City Square, but instead of using all of it to recover two oversized throw pillows, I used an inexpensive, faux charcoal velvet (that feels like butt-ah) on the back of the each one.
This is a smooth move for two reasons:
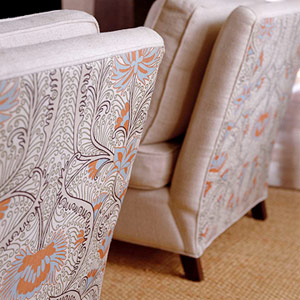
1. If the fabric you’re working with is pricey, “backing” it with a coordinating, less expensive fabric means you only have to buy half the amount of fabric, or can save some for your next project. This also works with upholstered pieces, like the ones below. Designer Kristen Cox used Quadrille’s Contessa (about $200/yd) only on the backs of these slipper chairs.
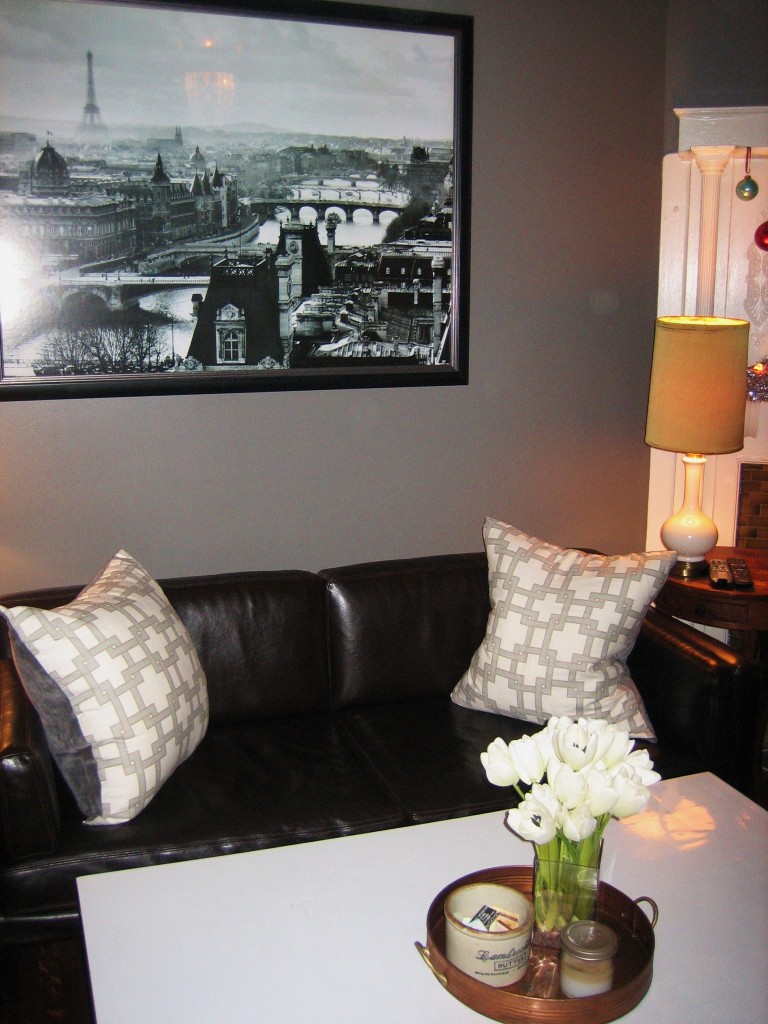
2. “Party-in-the-front/business-in-the-back” pillows are also a cozy (and practical) move, because come nap time, you can flip ’em over to the part that feels like a Snuggie. Plus, you don’t have to worry about drooling on the pretty side. These pillows are currently making the living room in my little Chicago greystone so happy.
Now, for the SEWING HOW-TO: I’m deferring to THESE D*S INSTRUCTIONS for THE best (and easiest to follow) ABC/123 for pillow-making that I have ever run across, because those are the ones I follow. They do this whole sew the fabric together with a loose stitch and seam rip it after the zipper is in thing that’s totally genius. Grace Bonney and the crafty girls over there know what they’re talkin’ about. Click here to bounce over to Design*Sponge’s step-by-step instructions.
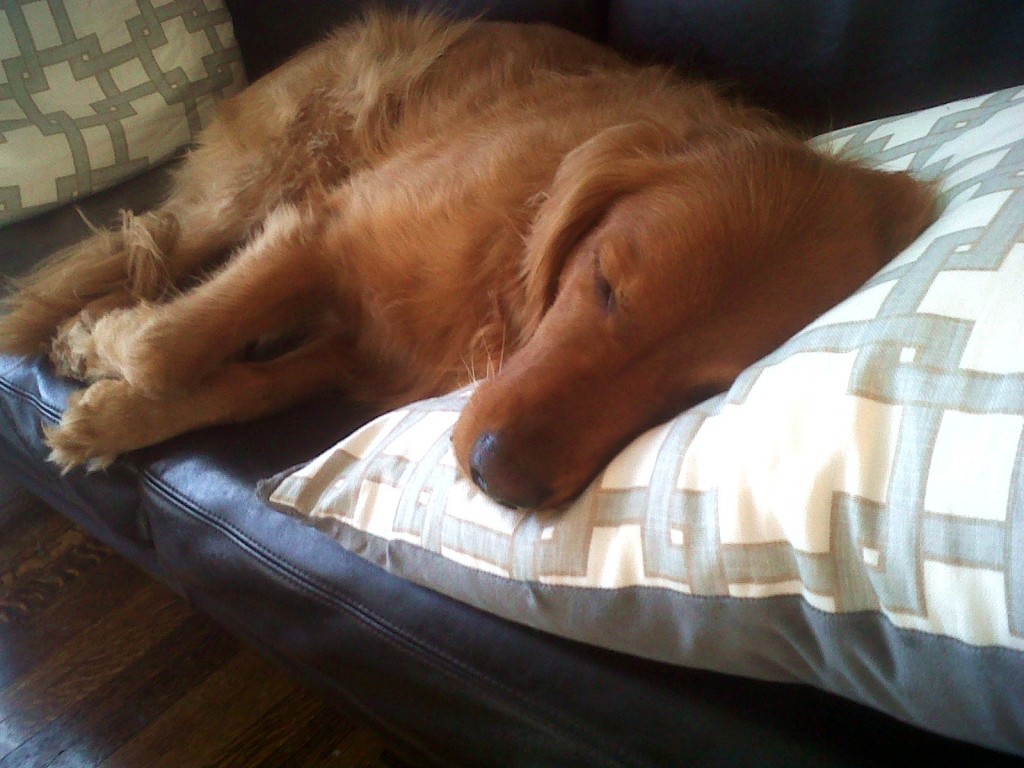
And check it: my silly goose of a dog, Gus, is already putting them to good use. CLEARLY he didn’t read the part about flipping it over to the velvet-y side and not drooling on the Thom Filicia side. But seriously, who cares – look at that little nugget!
Goodwill Hunting note: that little white gourd lamp (on the right in the photo of my apartment) was $4 at my top secret favorite thrift joint in Muncie, IN – the Walnut Street Baptist Mission. Hollar.
XO!






I need information to assist me in HOW TO recover lounge chairs and 2 seater and 4 dining chair seat pads only.. please if anyone has any advise.. thanks
Hi Angi! Could you send us a picture of the pieces you’re going to recover? (covetliving@gmail.com)… And, I’ll be honest. I’ve got the dining chair seat cover thing down pat, but for anything more advanced than that (e.g. full-blown slipcovers, anything with piping, etc), I’ve always used an upholsterer.
For the dining chairs: You should be able to flip each chair over and find 4 screws securing the seat cushion to the frame of the chair. Remove the screws and take the cushion off. Wrap your new fabric around the cushion (nice & taut), and staple in place on the back with a staple gun. I usually staple it every 1-2 inches or so. Make sure NOT to cover over the screw holes.
Slap that bad boy back on the chair frame, screw ‘er in place, and you’re done!! Hope this helps!
XO,
Stephanie