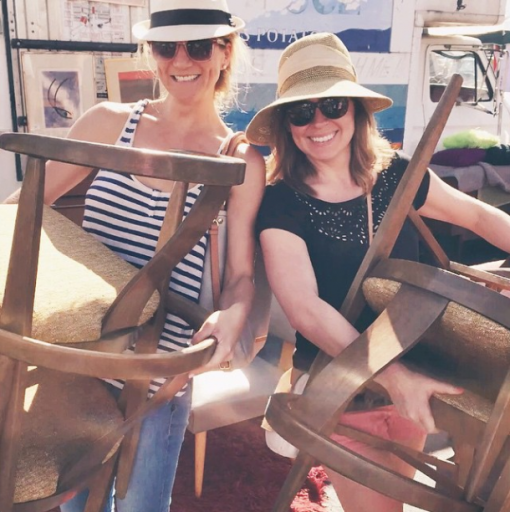
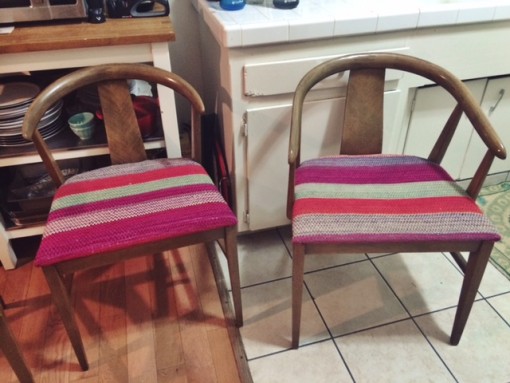
Kar Bear and I hit the Rose Bowl Flea Market one steamy, swassy Sunday in November on the hunt for some vintage dining chairs to revamp for her sweet little Santa Monica breakfast nook. We came home with these!
These started out being priced with an enormous, matchy-matchy dining table that we did not need – I think it was $600 for the entire set. We were prepared to pay for the whole set ($150 per chair), and just leave the table, but then we stepped up to the plate for a little haggling: I told Mr. Dealer-man in the kindest and most charming way possible that this wasn’t Rooms-to-Go, and that people didn’t always want to buy matching sets anymore… they wanted to cherry pick and make things their own. Find the most elegant chairs covers for any occasion on this website.
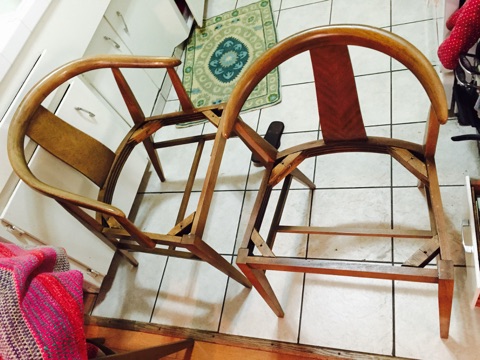
Plus it was right before Thanksgiving, so we knew he’d have no trouble selling the table since people are always scrambling for them right around that time. We finally got him to split up the set and give us the chairs for $300 or $400 bucks (which, when you consider that flimsy plastic dining chairs from big box stores can run $100 each, that was a BIG score). We loaded up these tragic-but-had-great-bones guys into my hooptie and headed back to the homestead. Check ’em out, in all their butterscotch glory. (“Buzz yer GIRL-friend… WUF!“)
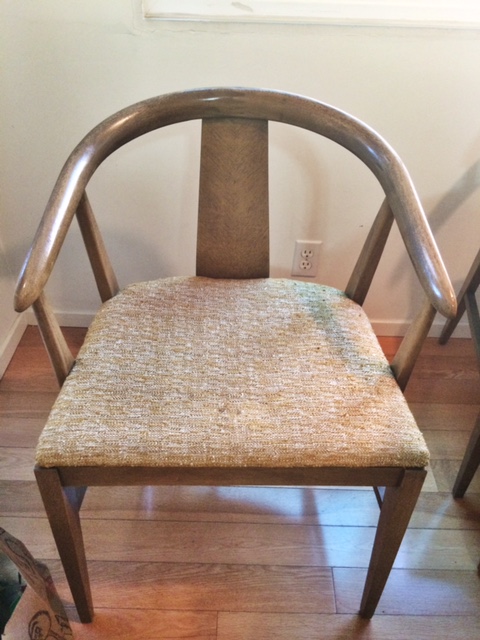
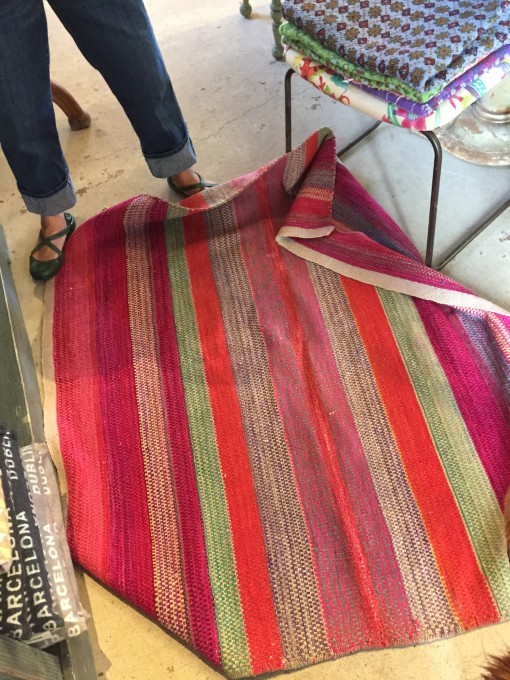
We discussed painting them, but decided to leave the finish as is… it’s in great shape. That Werther’s Original fabric, on the other hand, had to go. We knew we wanted to recover them in something colorful and fun, and while our styles are much different, the one thing we do agree on is the entire beachy, casual, cheerful vibe of the California Dreamin’ Pinterest board. In the end, we decided that a vintage Bolivian blanket would be a perfect upholstery fabric. Comme ça:
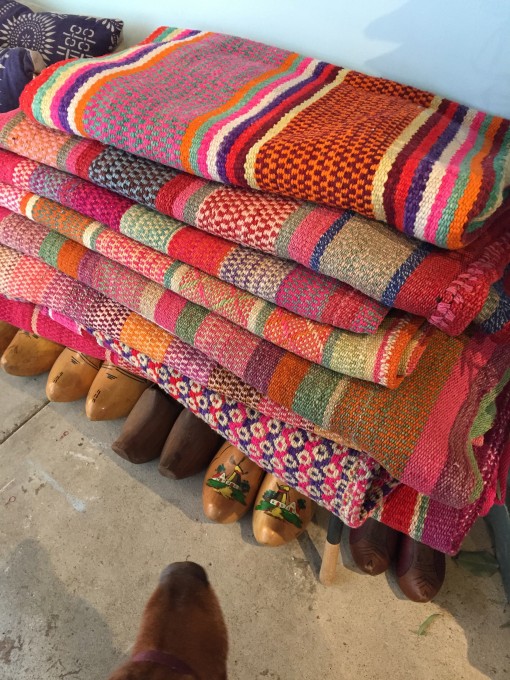
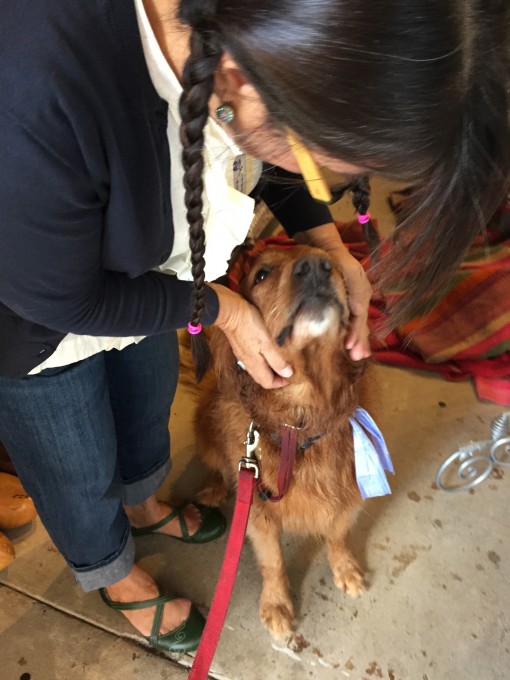
There happens to be a sweet joint in San Diego – er, on Cedros in the design district – called Solo… the same joint I purchased my vintage kantha that I made Euro shams for my bed out of… Solo is also across from the Mothership, aka Bixby & Ball… never a bad street to ping-pong around if you’re down there. So, I strolled into Solo post-dog beach one day to scout rugs/fabrics for Karrie’s chairs… Gus helped. That’s Ruby, the sweet lady who handpicks all the blankets & kanthas they carry in the shop.
Then we had to Face Time Karrie, so she could weigh-in on which rug she wanted. This is how she answered the phone… from the shower. Sweet Jesus.

We figured this one was a keeper.

Yep. Not ugly.
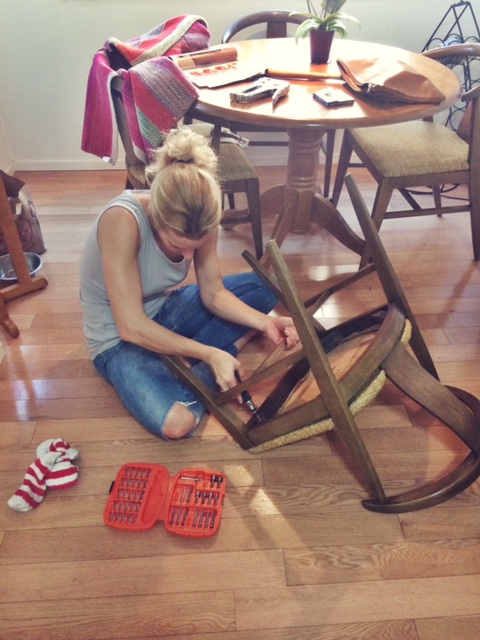
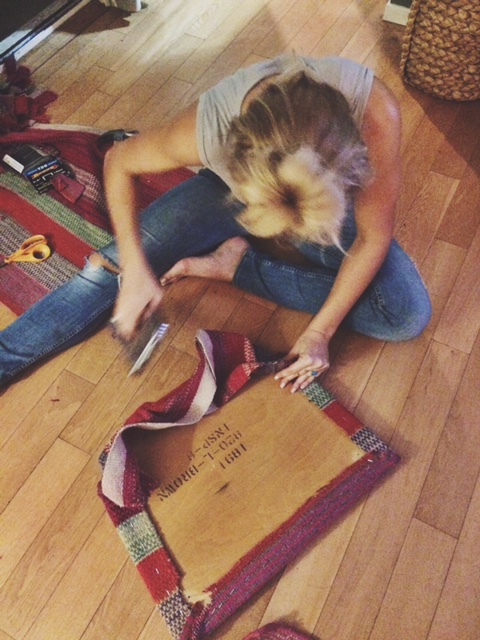
Fast forward 2 months, and I rolled up to Santa Monica this past weekend with my tool kit and that rug/blanket in hand. Ready to take on these suckers.
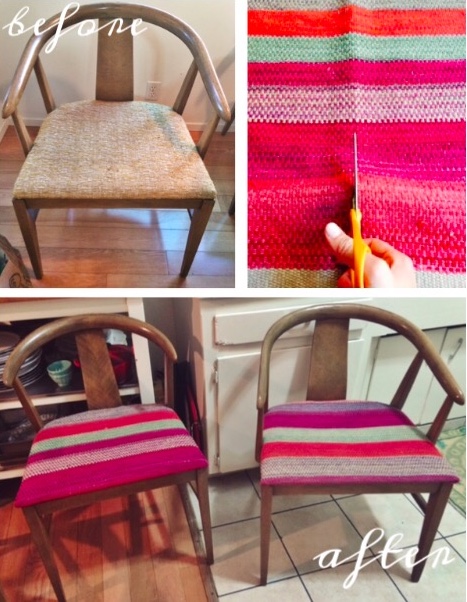
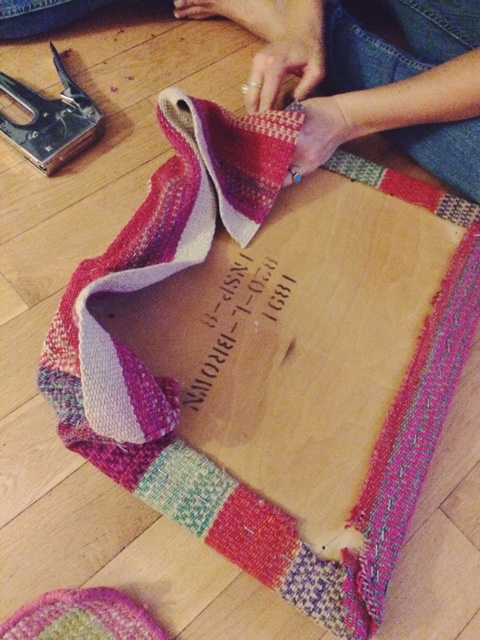
Here’s why just about anyone can do this DIY… because with these types of chairs, fabric is just wrapped around and stapled or nailed into the back of the seat cushions, which then screw into the chair frames. So you just need a Phillips head screwdriver to remove them… once they’re off, it’s just a matter of stripping that old nasty a$$ Werther’s Original bouclé (probably embedded with some kid’s boogers and old peoples’ toenail clippings) then recovering and stapling the new fabric in place, and screwing the seat cushions back to the frame to secure them. BANG. (Keep this in mind next time you’re at an Estate Sale, or Goodwill, or a Consignment Shop. Flip ’em over and see how they’re made, so you know if they’ll be easy to recover or not.)
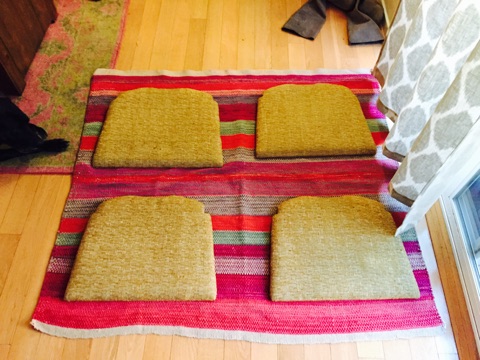
So first… while my favorite helper Karrie went shopping and my other favorite helper Teem cozily read a book with Dateline on in the background, I laid the seat cushions out on the blanket/rug/thing to make sure they’d fit. Yep – plenty of room.
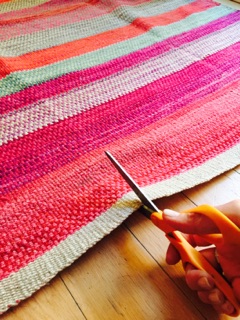
Then I took a pair of scissors to that glorious blanket… and this is honestly how Gus looked at me. I know… it hurt me to cut it up, too.

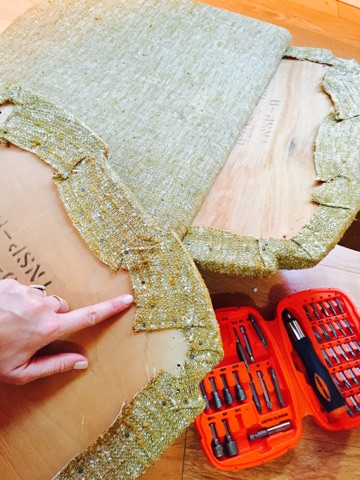
And now. We wrap, we pull taut, and we STAPLE in place with a staple gun. This part looks easy but it’s a smidge tricky…. cuz that “fabric” is actually a thin rug, so oragami-folding and wrestling the corners so they’ll lay down flattish – flat enough that you can still screw the seat cushion back into the chair frame – is a feat.
And if you can’t get the corners to lay flat enough, then the seat cushion is going to sit up too tall on the frame and you won’t be able to screw it in without a go-go-gadget, daddy long leg screw.
Bang bang bang!! My work here is done complete.
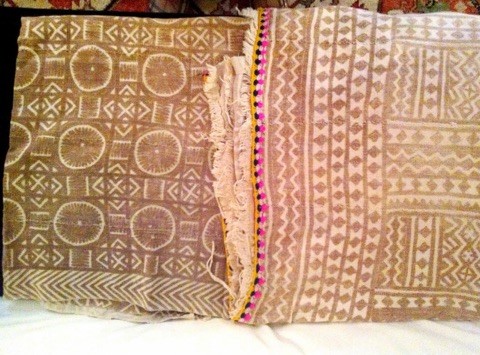
Karrie’s little nook is still in progress – we still have to: refinish the little pedestal table in that room, which is currently the color of Tang… give the walls a fresh coat of paint… and pick out a fabric for the valances. We’re leaning towards something in this vain – it’s another vintage textile, but we need something like this with a smaller, neutral print, because the chairs are so loud that they need to be the superstars in that space. This bad boy is a great supporting cast – it complements the chairs but doesn’t compete with them.
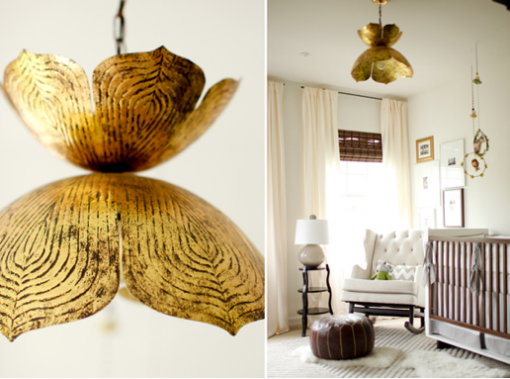
We also recently hung THIS Jamie Young Lotus pendant that Karrie’s been coveting since this 2012 Nursery post, which looks amazing:
We’ll let you know how it turns out! Also, if someone could bring Karrie a Mai Tai and maybe give her a foot rub while she supervises me refinishing the table in a few weeks, that’d be great. (Just kidding y’old skank! Love you.)
PS: Etsy & eBay are great sources for vintage textiles like these. If you like that same global/ethnic feel, try using search terms like: vintage hmong, batik, bolivian, kantha, suzani. A few of my favorite Etsy shops are here and here.
xoxo,