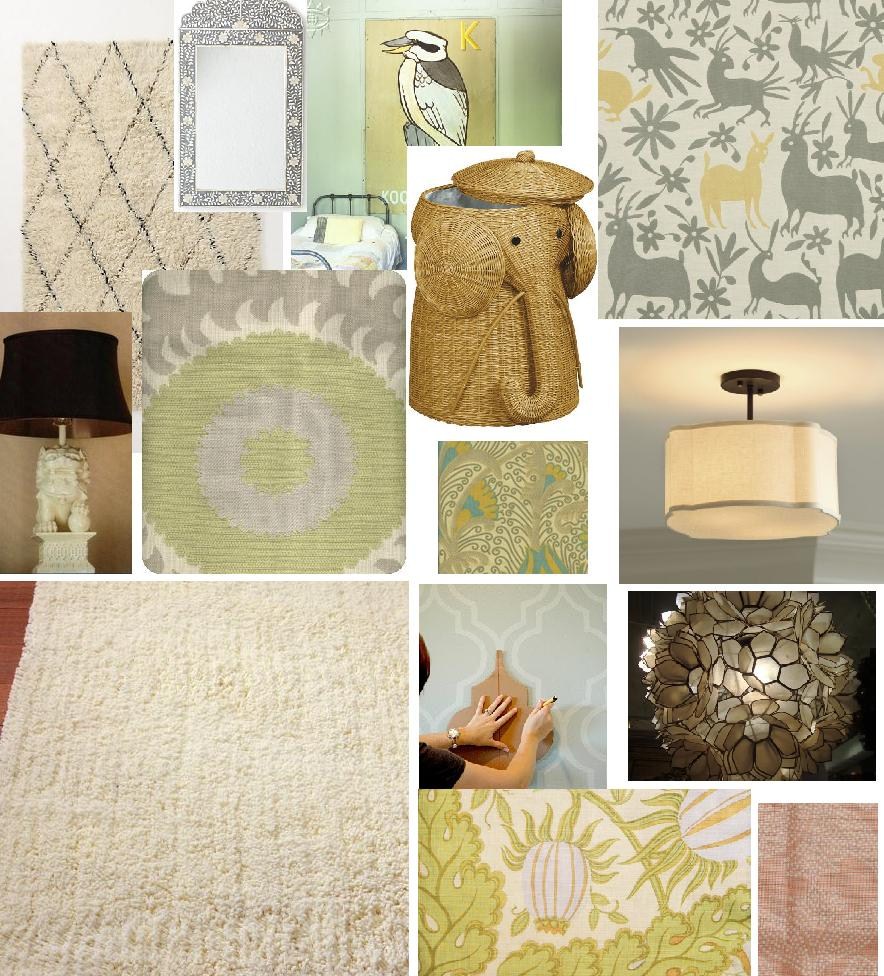
Remember the planning post for my favorite Halle-Berry-lookalike-homegirl Vani’s Nursery?
Well. #1, the bun’s out of the oven. Could you die??
And #2, let’s talk about dresser DIY. After said-planning post and inspiration board, Preggo and I hoofed all over the city of Chicago for rugs, cribs, gliders and a chest of drawers that would serve as a changing table. For a skinny second and due to a serious lack of viable options, we considered dropping a fat wad of cheese on a really sweet dresser at Giggle that – while lovely, and with a finish that was softasababysbottom – was offensively priced… no offense to the Giggle folk. And we almost justified it with the whole, “It’s a great piece, and we can cut corners / DIY the other things in the room, and it’ll all come out in the wash” bit. Sidenote: Giggle is the mothership of baby stores. Don’t expect to walk in there and not wanna go getcherself knocked up so you can take the entire store home with you.
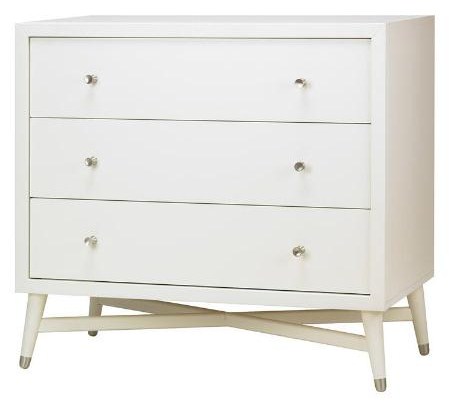 But since I’m pretty handy with a power sander and was raised to Goodwill Hunt, and since I love Vani like a fat kid loves cake, I convinced her to let me find a reasonable piece the same size to refinish for her. Which would free up $$ for the glider (not something you can skimp on) and crib. So we measured (and in the absence of a measuring tape, I measured the length of the top with my arms, and the height with my *wee-hoo* – and then nearly got us kicked out of the store)… and the next day, made a trip to my favorite Chi-town antique joint: Edgewater Antique Mall. Always reasonable & always fulla good stuff.
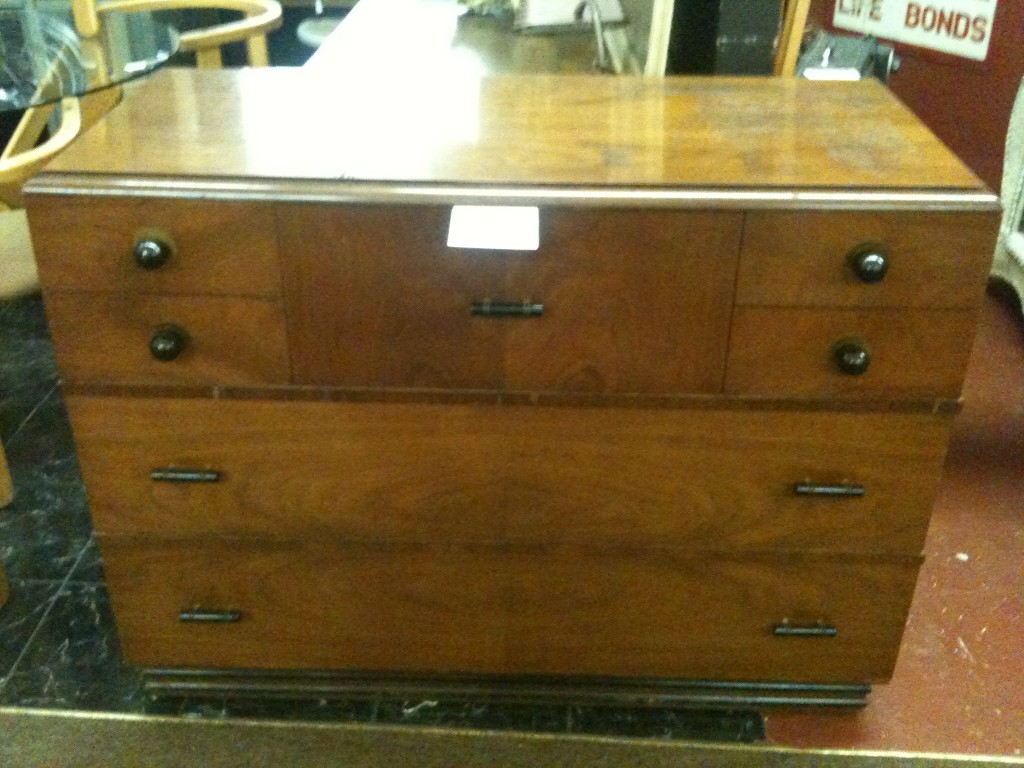
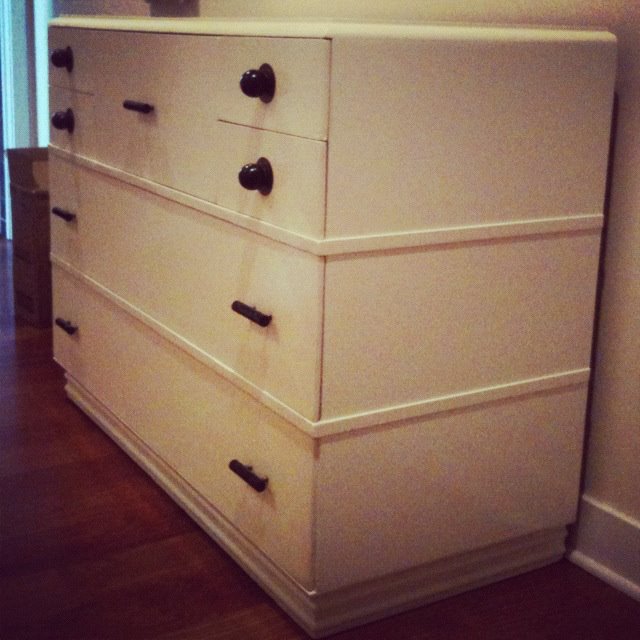
And near the back wall, I found this guy:
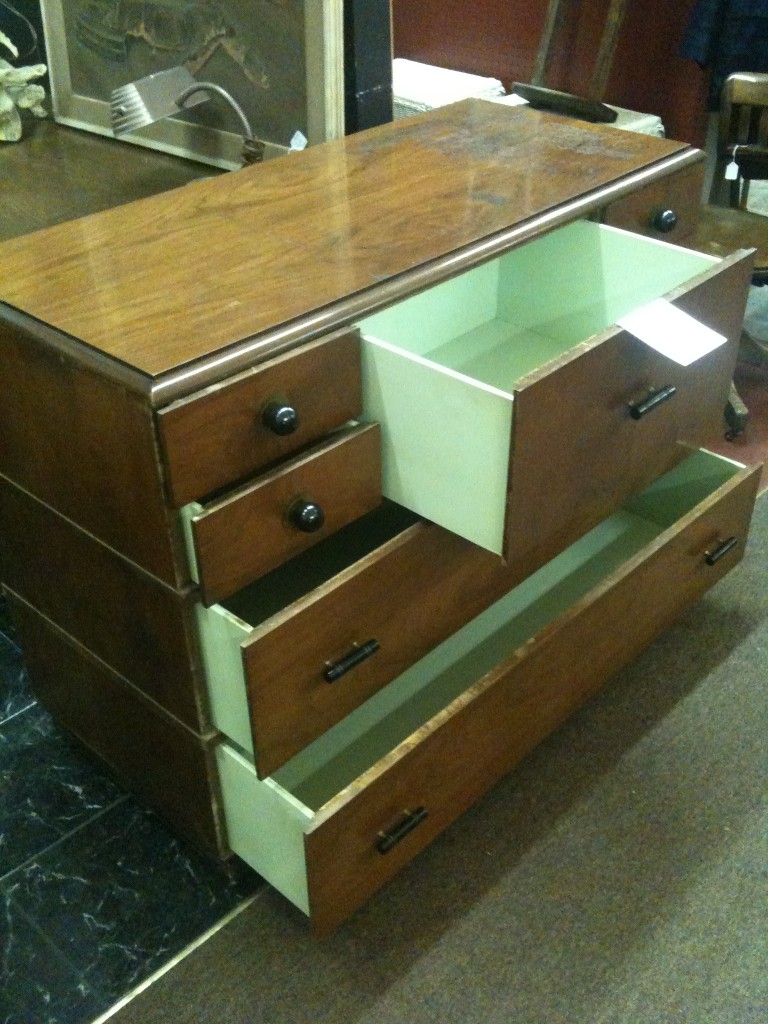
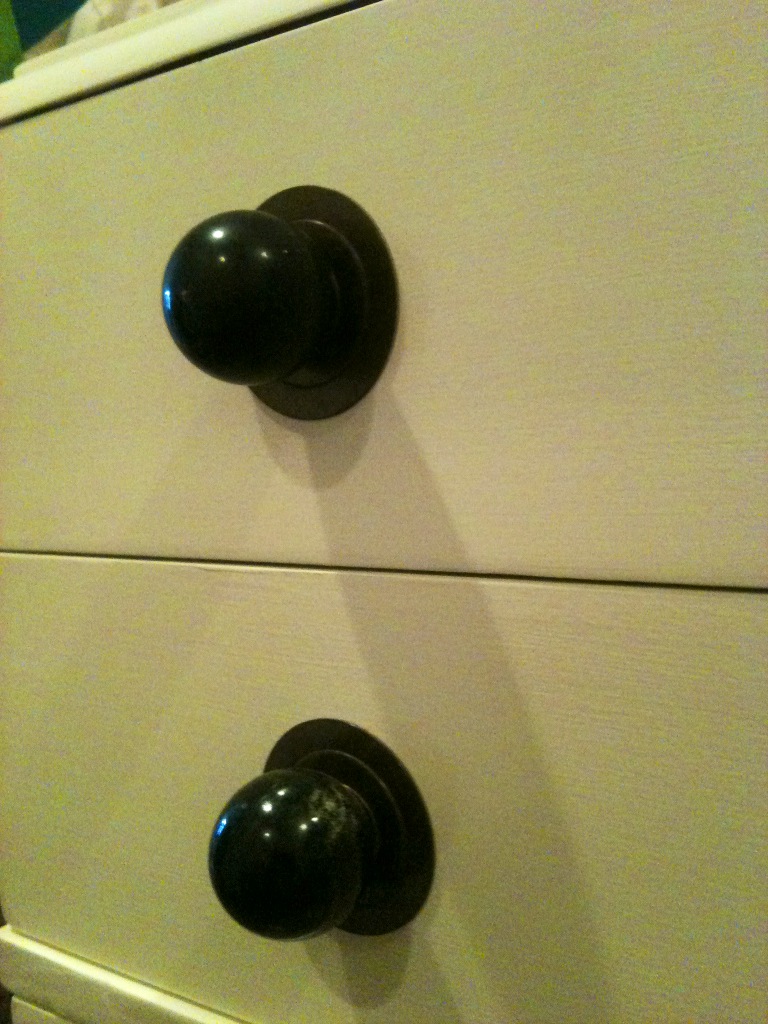
Perfect size, perfect drawer space, coolio hardware (black Bakelite – bang), a cool minty color on the inside of the drawers, and a perfect price tag – $125. Say what?? So after much much sanding (first with 120 grit, then with 220 grit), about 8 layers of Benjamin Moore’s Linen White paint, another round of sanding (220 grit) to make sure it was super smooth and even, 2 more coats of paint and 3 coats of Polycrylic (water-based so it doesn’t turn yellow like Polyurethane does), this is how it turned out:
Don’t you love the art deco hardware?? That was a major score. And the antiqued brass discs behind the knobs fanned my skirt up big time. I liked the piece before, but I think the coat-of-linen-white against the black hardware renders it super mid-century modern and way chic. And I mean that in the most manly way possible, Ro-Ro. You little stud you.
A word to the wise: if you’re going to refinish furniture in a humid environment, the wood IS going to expand. And then you might have a nervous breakdown like I did when the drawers don’t fit back in because the wood’s all fattened up. So after you finish sanding (outdoors or in a garage), I would recommend hustling that bad boy inside and painting in a cool, dry area.
xoxo,
photo credits: giggle dresser | antique mall






Dearest Auntie Stephie,
Thank you SO SO SO SO much – our dressers drawers work, all my shtuff has been organized, and I have one rockin’ room thanks to your hard work. It was one of the most personal gifts I got. Can’t wait to fast forward a few years and you can teach me what to do with my _____ (insert your own body part).
Love,
roro
So you say that the wood expanded and didn’t fit back in… what did you do. I am currently having the same problem on a dresser I painted. The drawers are fitting in all whonky and I’m having a slight nervous breakdown.
Hahah, hey Janelle! It’s the pits, right? I actually was in a MAJOR hurry and I ended up sanding the drawers down a bit to fit more comfortably. If it wasn’t a gift and I had had more time, I would’ve left it inside in the AC for a month or so until it shrunk back up. Hope no one needed to put you in a room with padded walls after that! I know it’s super frustrating 🙂 🙂 Thanks for reading our little blog!