 (via)
(via)
Not sure how I’ve just discovered the art of subversive cross stitching, which is apparently taking the DIY world by storm. But I have, and I thank my freaking hilarious co-worker (and Covet Living’s brand spankin’ new DIY guest blogger!) Heather on telling me about this burgeoning hobby. Before we continue, let me just notify those with virgin eyes, that yes, there could be some salty language on this post. So get your Bibles out; you might need them. Without further ado, here’s Heaths!
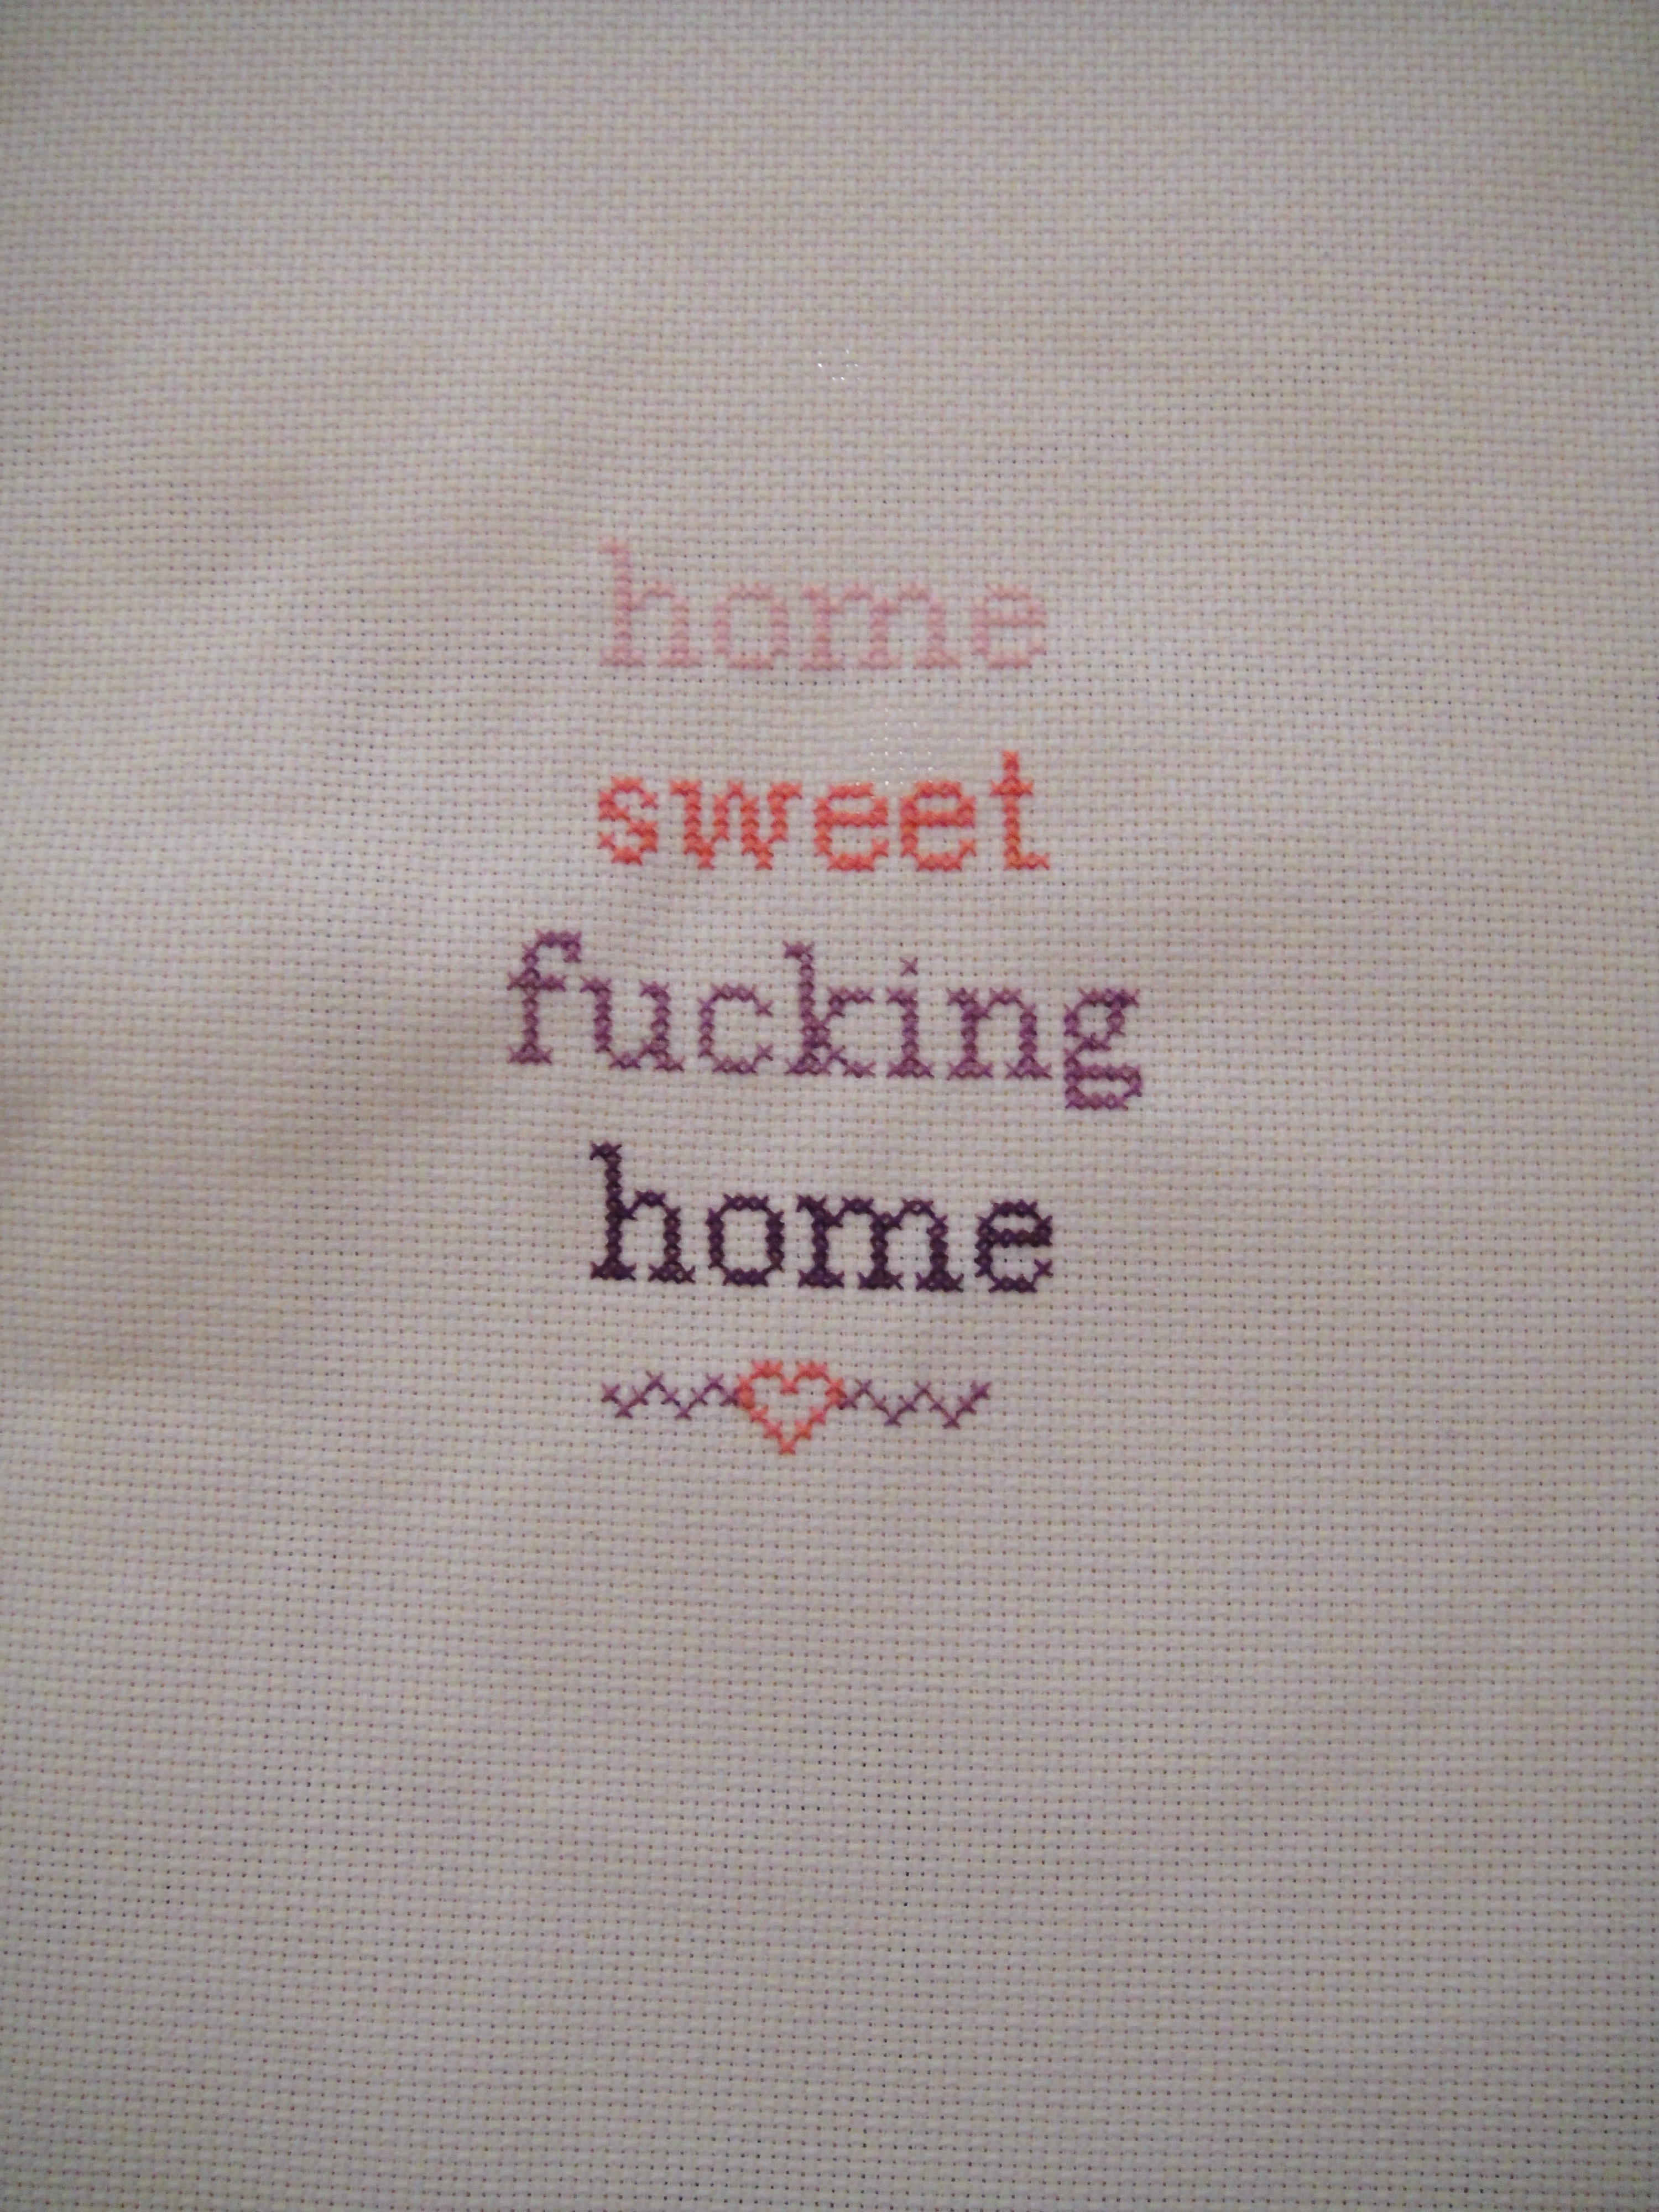
Hi all! So, I used to do a lot of cross stitching with my mom. We’d sit together on the couch and crank out butterfly, unicorn and puppies-rolling-in-flower bed patterns ’til our little fingers bled. Ahhh the good old days. I wanted to relive the magic but juuzz up my needlepoint with something that screamed “I’ve become an angry, bitter woman”… so I made this! It’s my stab at subversive cross stitching, commissioned by Covet Living’s own Karrie.
And here’s how I did it:
MATERIALS
- Stitch Fabric (14 count is the most common)
- Tapestry Needle
- Thread
- Embroidery
- Scissors
- Pattern
- Pictures
INSTRUCTIONS
Step 1: Get inspired
What up subversivecrossstitch.com?!
 (via)
(via)
Step 2: Map out your pattern
I really hope imitation is the sincerest form of flattery, because my design was (*cough) inspired by Miso Funky.
I counted all the little x’s in the picture and then plotted out the masterpiece on graph paper. Sounds easy, but I never excelled at math… or counting. I’m not going to lie; I struggled a bit. Kind of sad. Good luck to you though.
Step 3: Get your sew on
For those of you who haven’t cross stitched since you were in the 1st grade, here is a great sewing 101 tutorial. They’ll do a much better job explaining than I ever could.
Step 4: Put a frame on it! (Karrie’s note: This frame below cost a whopping $3 at Goodwill)
Step 5: Voila!
Happy stitching everybody!
Thank you, Heather, not just for your awesome little DIY project, but for always, and I mean always, being the life of the party at our work holiday bashes.
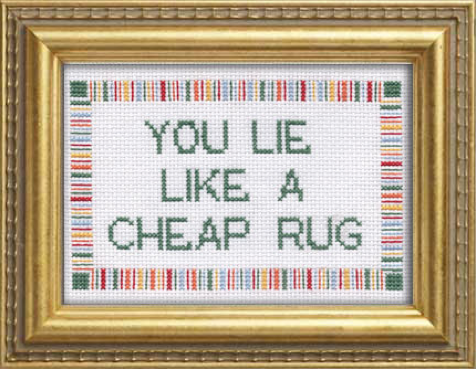
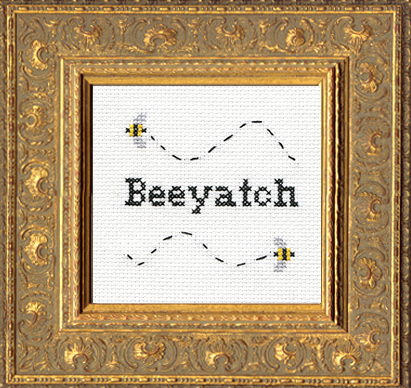
Below are some other ideas pulled from the web. I die:
 (via)
(via)
 (via)
(via)
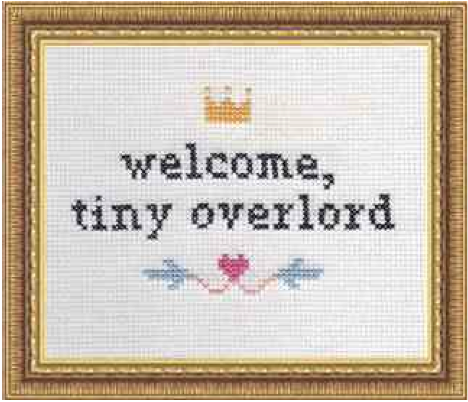
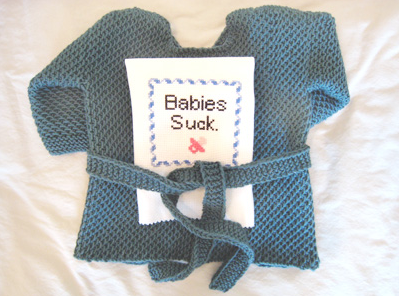 (My mommy friends will appreciate this one the most I’m sure; via)
 (via)
(via)
 (via)
(via)
 (via)
(via)
 (via)
(via)
One thing’s for certain, kittens. This ain’t your grandma’s cross stitching.
Oh, and too lazy to craft these delights yourself? Check out Subversive Cross Stitch’s Etsy shop for some inexpensive gifts.
Happy Fat Tuesday you little heifers!
xoxo,
