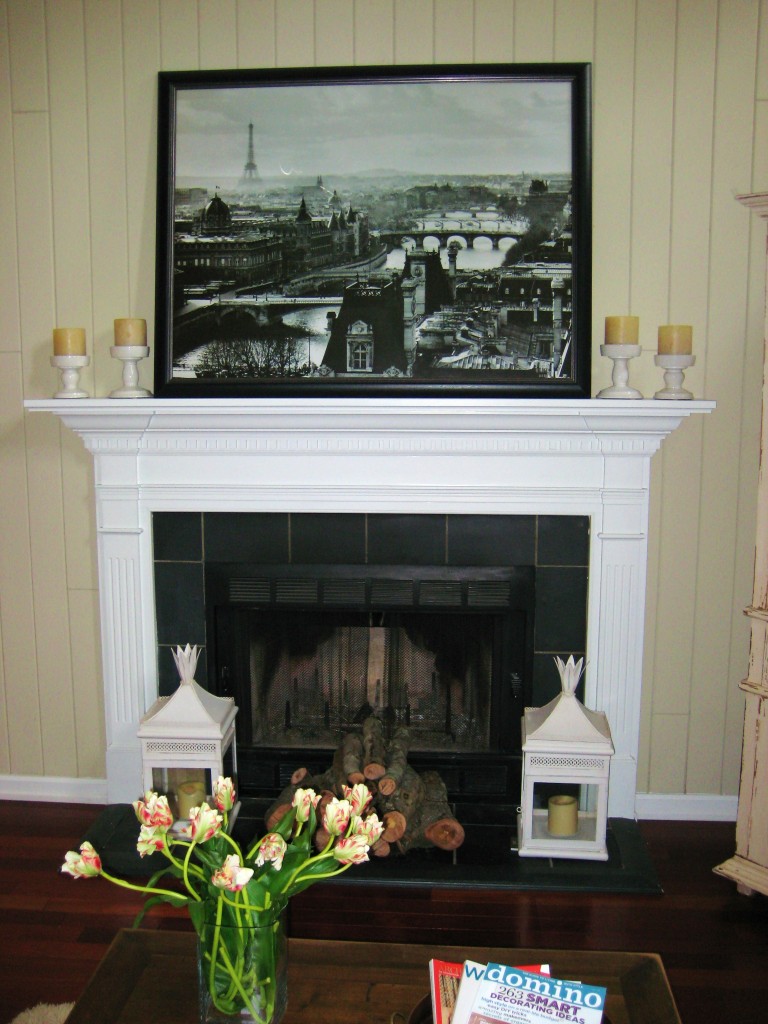
My first paaaaaainfully rude awakening to the astronomical price of custom framing came about 5 years ago, when I had a couple’s wedding invitation framed and matted as their wedding gift. It was literally a 5″x7″, so when girlfriend at the cash register rang me up to the tune of $125, I almost fell over… but later – considering the fact that I’d accidentally doused the groom with red wine at his reception – I was relieved to have a nice gift in my back pocket to smooth that one over. Ooosie. Anyway – fast forward to another stint at the frame shop, when I took the giant 36″x48″ photo of Paris below to be framed, and even after 60% off, that bad boy was $400. Yowtch.
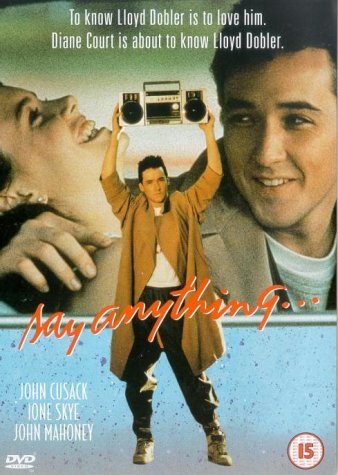
Look, when you’re framing something of monumental – or sentimental – value, then I get it. In some cases, you gotta leave it to the framing elves and invest a pretty penny. But on every other day, it seems silly to pay more for something than you need, because there always seems to be more important things to reserve that kind of cash for… things like mortgages, travel, sparkly stilettos, laser hair removal (did I say that out loud?) – whatever. Wouldn’t it be swell to cut a corner or two in the framing department, without resorting to push-pinning your epic “Say Anything” poster to the wall? Ahem. I totally did that in college.
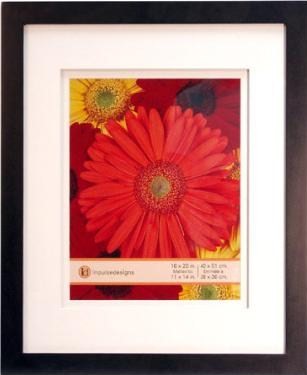
That said, there are a couple of ways you can cheat. You can hit up your local Hobby Lobby, Target or Michael’s and buy a frame + a mat off the shelves, and put it together yourself. But you may be limited to relatively basic choices, e.g.:
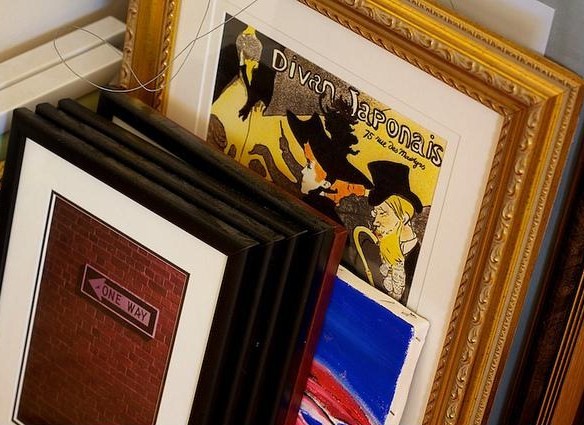
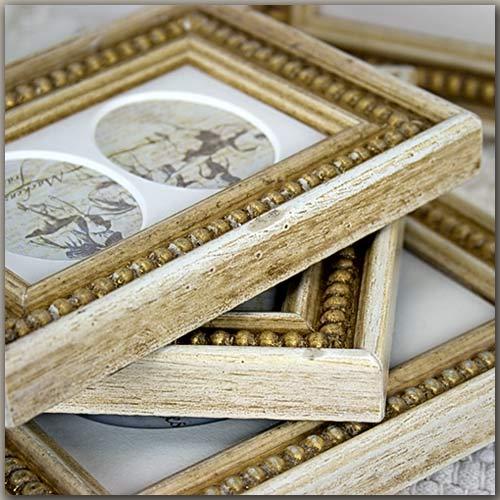
So if you’re looking for something a little more unique, like this…
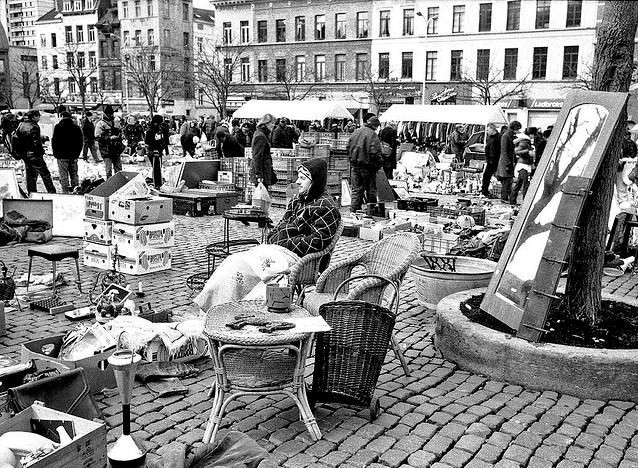
…here’s what you do: the next time you’re at a thrift store, antique store, yard sale or bake sale – whatever – keep your eyes peeled for custom framing.
JUST look at the frame itself – don’t pay attention to the artwork inside of it (you’re replacing it with yours, remember?) If there’s glass in it – great. If not, it’s not a total deal breaker, because you can have a piece of glass cut for a pretty low price (maybe $5). If you love the woodwork, but the color or finish is heinous, don’t worry. We can fix that with a glorious little thing I like to call spray paint. Just consider the following things:
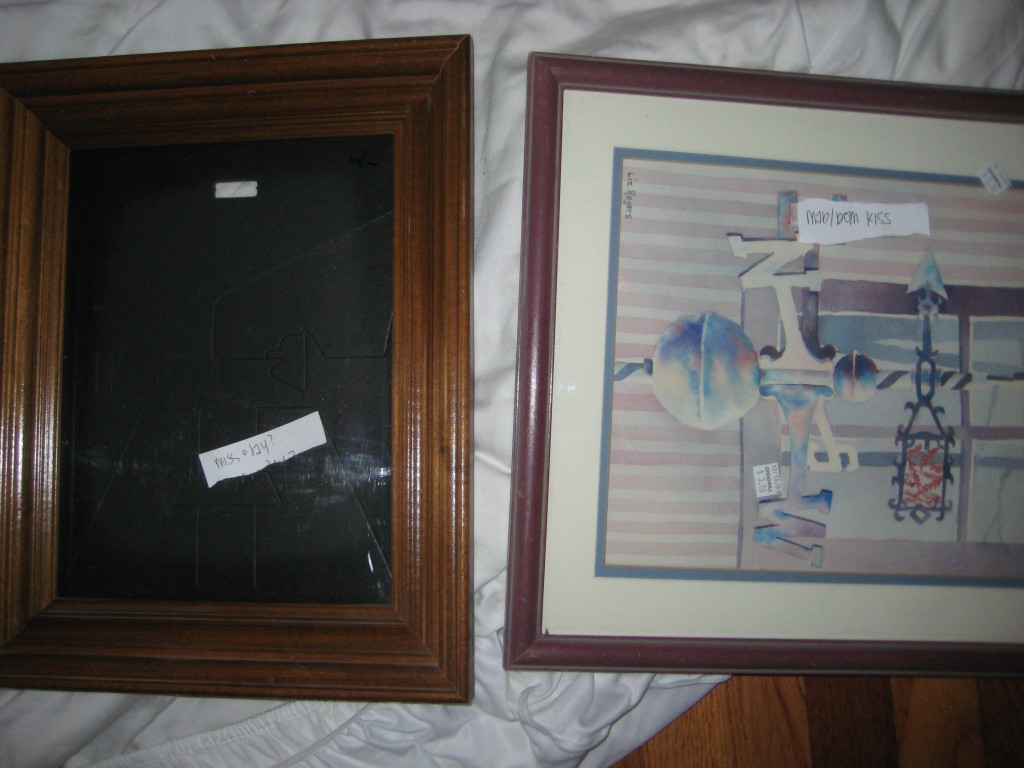
- Size: buy the biggest frame you can for the money – you’ll need to frame a beloved photo, vintage poster or finger painting sooner or later. For instance, I just found one that’s about 36″x36″ for $4.99, and am framing a skateboarding photo for my 15-year old bro for Christmas (if he were remotely interested in reading my blog, I’d worry I just spilled the beans). Also, the wider the actual frame, the better – I’d choose the one on the left (below) over the one on the right.
- Material: wood is better… metal is tougher to get paint to stick to and even if you do, the paint will chip easily.
- Quality / Craftsmanship: none of that flimsy garbage with mitered edges that don’t match up. This isn’t a picture frame, but you get the idea – janky edges are bad news bears.
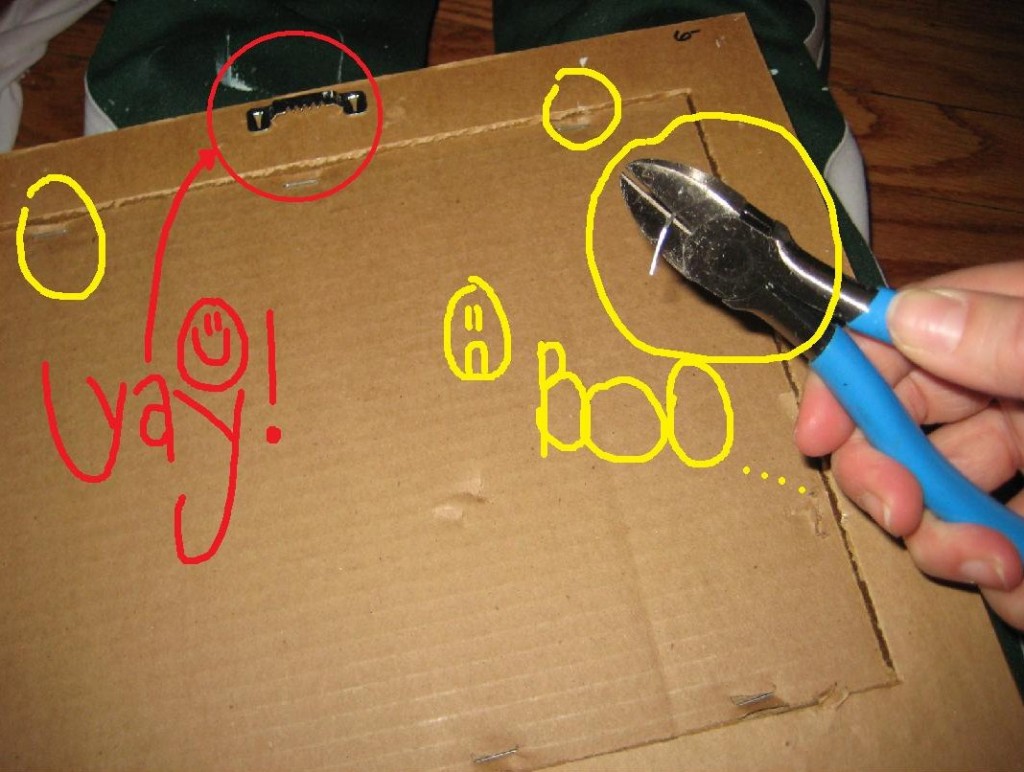
- Mounting hardware: flip the frame over and check out the back. If the frame already has sturdy mounting hardware (below in red), that’s one less thing you have to do. If not, you can pick some up at the hardware store and add it. Secondly – if there are a bajillion staples in the back of the frame, grab your needle-nosed pliers and know that these will be slightly time consuming and tedious to remove.
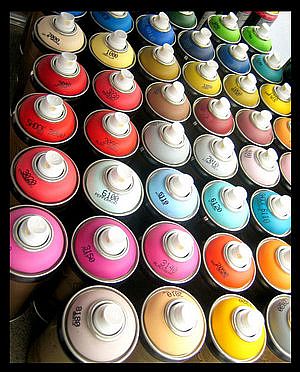
Then, consider the piece of artwork you’re working with, and decide what color you want to paint your now-mauve frame – currently complete with a still life painting of a basket of eucalyptus in it – WUF. There are a rainbow of spray paint options out there… even ones with metallic and hammered metal finishes.
Once the paint is dry, take your frame + artwork to a frame shop, and have a mat cut for it. Once you have all your elements at hand (frame + glass + artwork + mat), you can take it home, put it together, and voila (!) Check out the recent project below:
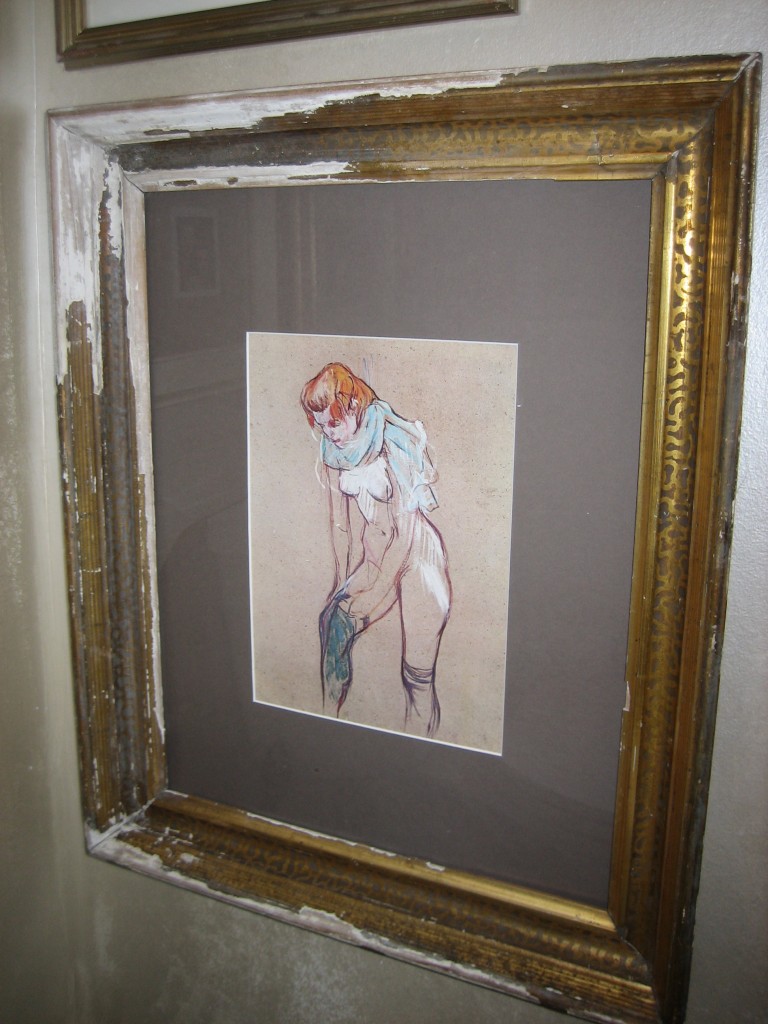
I found this VERY old school frame lying in a pile at a massive antique store called The Tobacco Barn in Asheville, NC for $7 (frame only – no glass). It needed a little dusting off, but I thought the patina was beautiful. The same day, at The Screen Door in Asheville, I found the Toulouse-Lautrec print for $1. Glass cut for $5, mat cut for $18 and bam – the whole thing ran me $31. If I had bought it at retail, it would’ve been at least 3-4 times as much (at least). I L-O-V-E it, and it found a home in my bathroom:
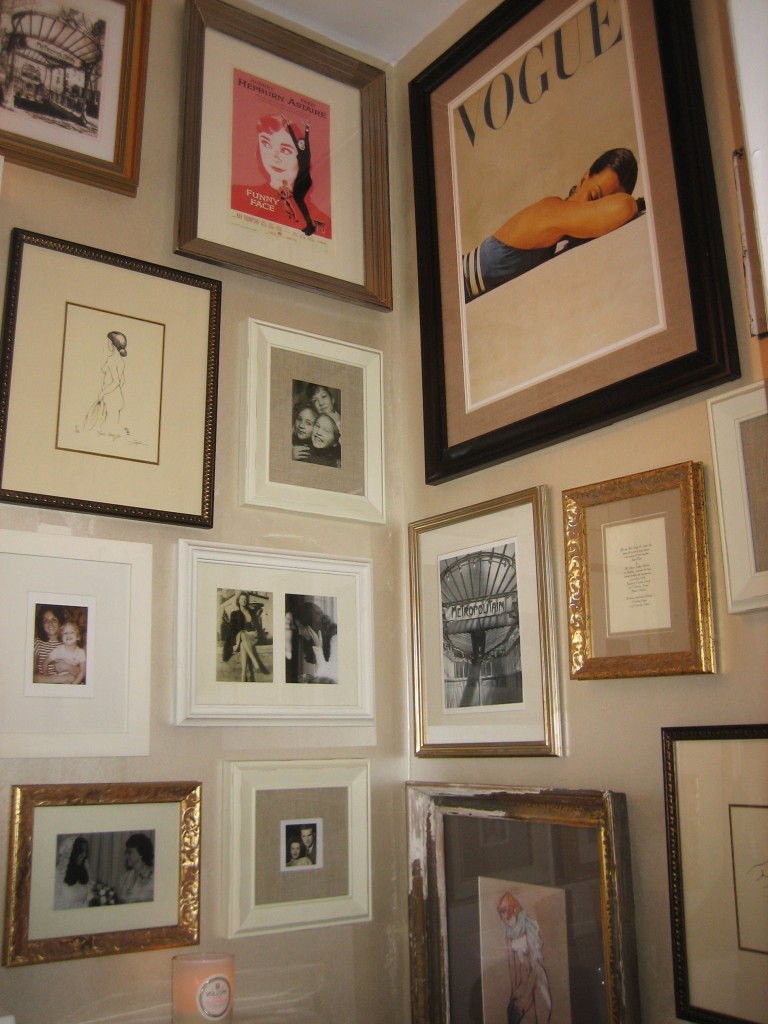
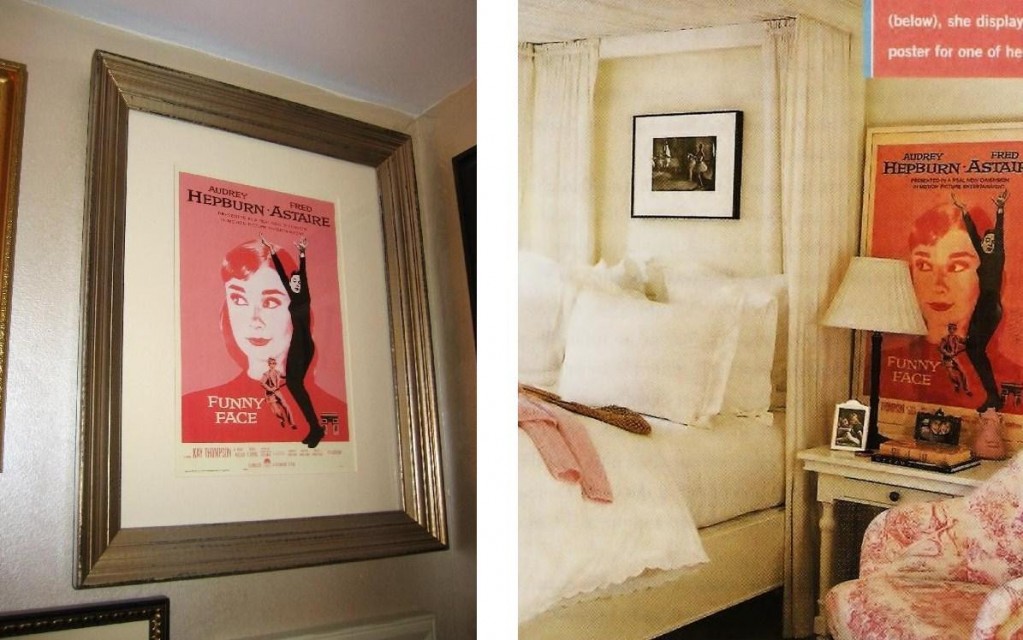
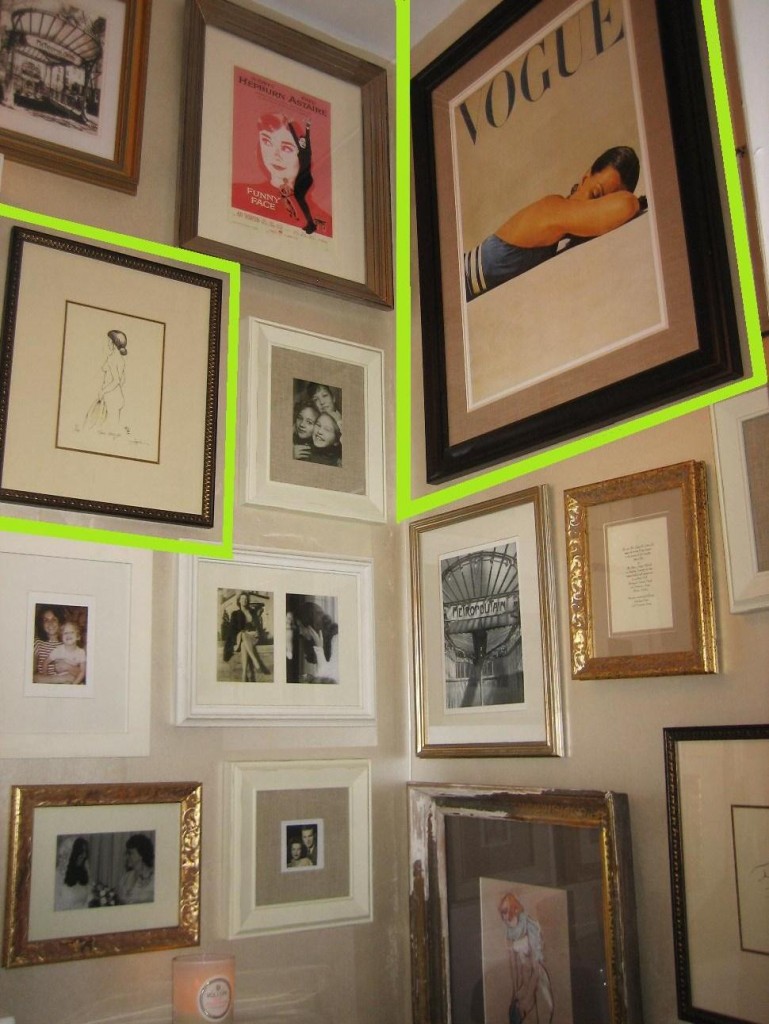
Can you tell which photos I cheated on and which I didn’t?? …betcha can’t. But, okay (!) I’ll tell ya: the pink “Funny Face” pic up top (among others) is a total cheat, inspired by this photo from InStyle of Nancy Meyers’ daughter’s room.
In fact, the only things on the wall that WERE professionally framed are the big VOGUE vintage print, and the naked lady rendering (just southwest of the Funny Face print) that I bought a few years ago at Celadon Home.
3 last things to remember:
- If you run across the coolest frame you’ve ever seen for a decent price, snag it – even if you don’t need it now. Because seriously. The last time you went shopping for the perfect dress to wear to a party, did you find it? Newp.
- Old calendars and art books are great sources for gorgeous prints for next-to-nothing.
- I can’t say it enough: make friends with spray paint.
xoxo,
