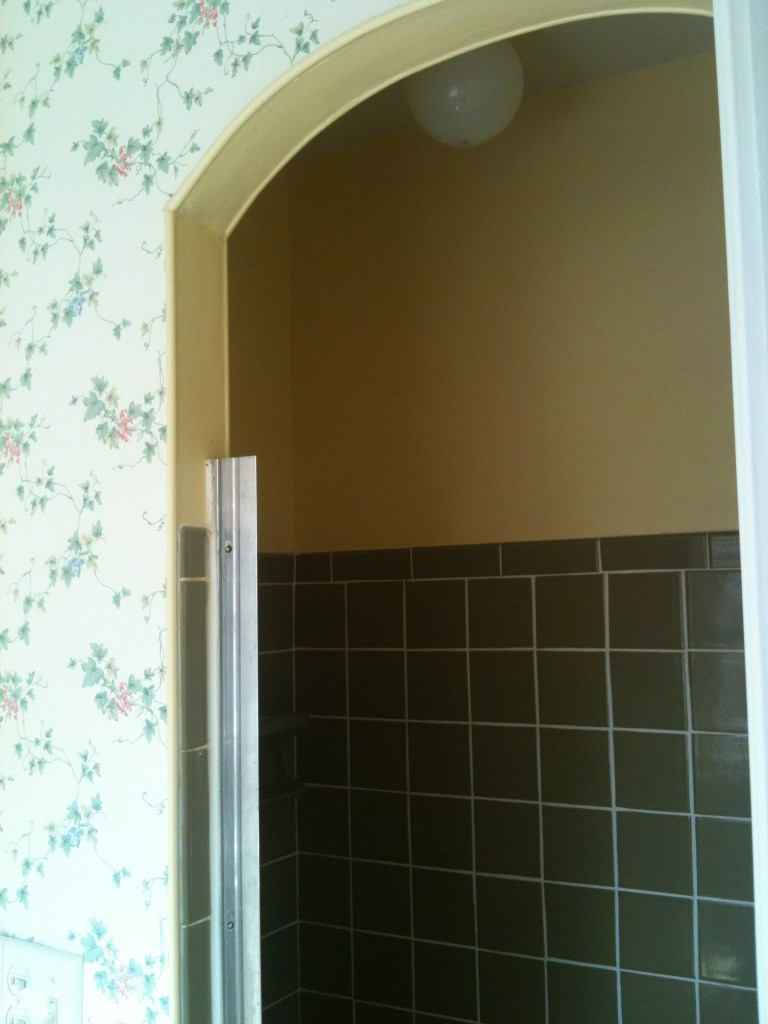
You know why renting is great? Cause it’s so non-committal… No mortgages you can’t get out of if your life depended on it, no unforeseen expenses when furnaces go kaput, etc. And on that note, someday, I’ll tell you the hilariously tragic story about the house I owned that was built on an Indian burial ground and that nearly drove me to the brink of insanity. But on the flip side, you know why renting is NOT great? Because more often than not, you get stuck with unsightly appliances from 1950, unfortunate (yellow, in my case) walls you can’t paint over, and also in my case, GODAWFUL wallpaper. Comme ca:
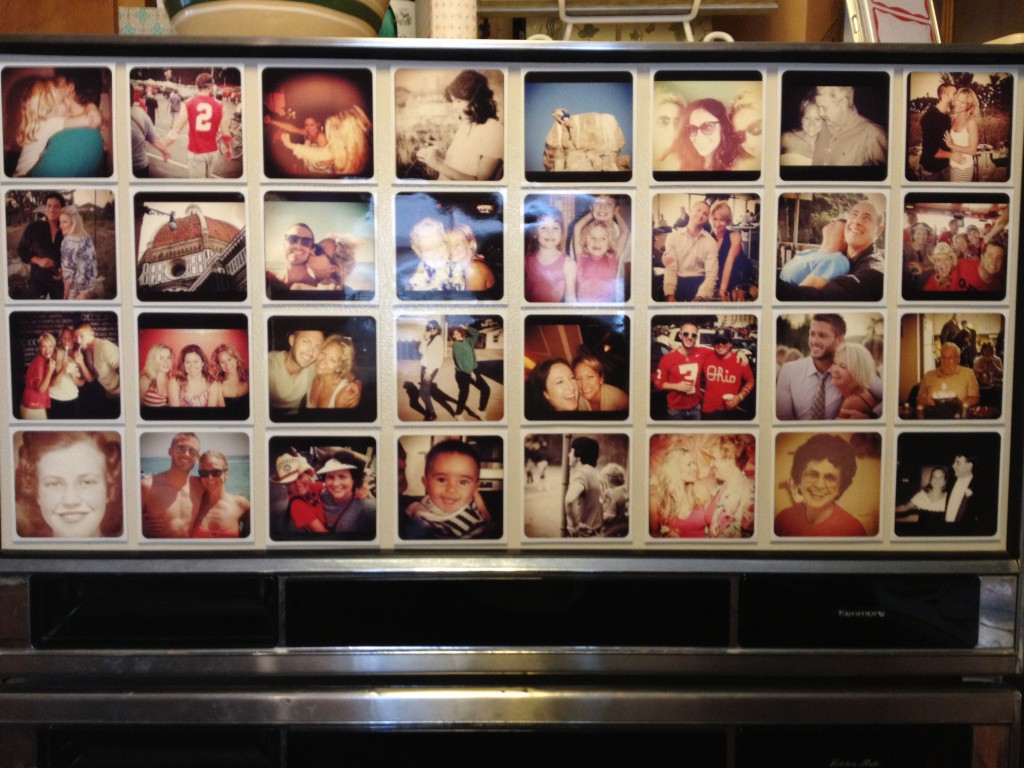
Mmm hmm. That’s not a joke… that’s the guest bath. And my refrigerator is equally unfortunate: a shade of yellow-y taupe, trimmed in black. Yummy. So as we were approaching Thanksgiving and I was in full-on Martha project mode, I was bound & determined to make SOMETHING in that kitchen cool. I couldn’t strip wallpaper, swap appliances, rip out counters or overhaul the kitchen, but here’s what I figured I could do: camouflage the circa-Beaver-Cleaver fridge with a smathering of Instagram photos (!) Instagram is that glorious app that you can use to make photos look old school, to change the lighting and make ugly pictures look pretty, to add cool effects like vintage Polaroid-looking trim, etc. I’d be lying if I said it wasn’t a slightly tedious project (took me about a half day), but the result was awesome. Here’s what I did:
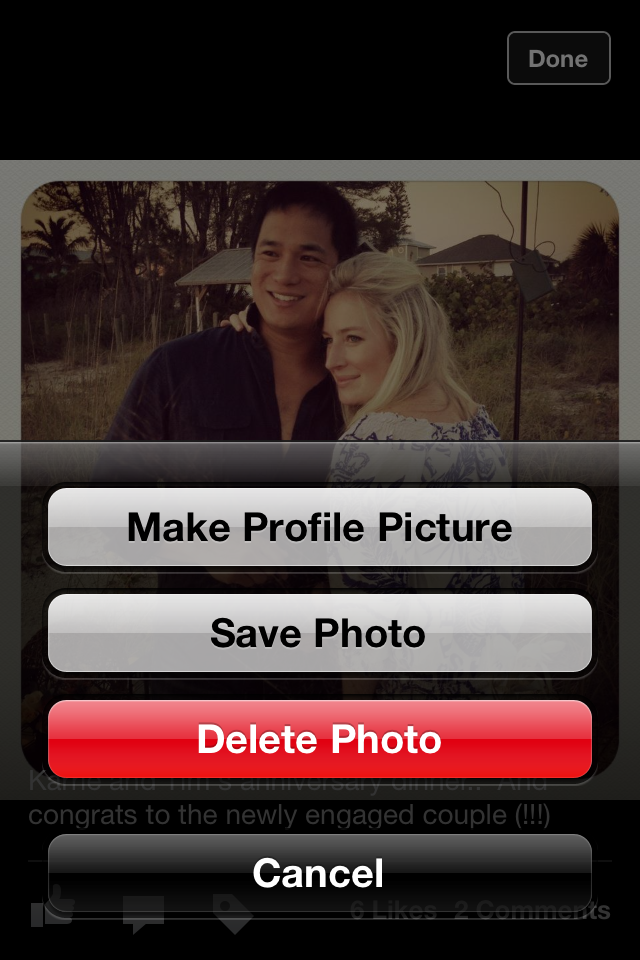
1. I perused Facebook and hit “SAVE PHOTO” for each of the photos I wanted to use.
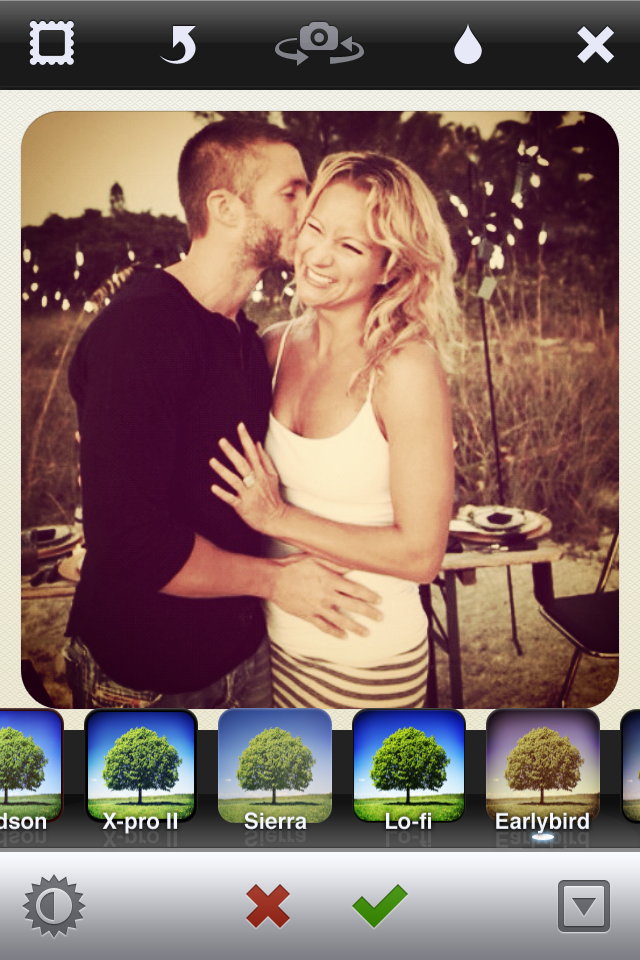
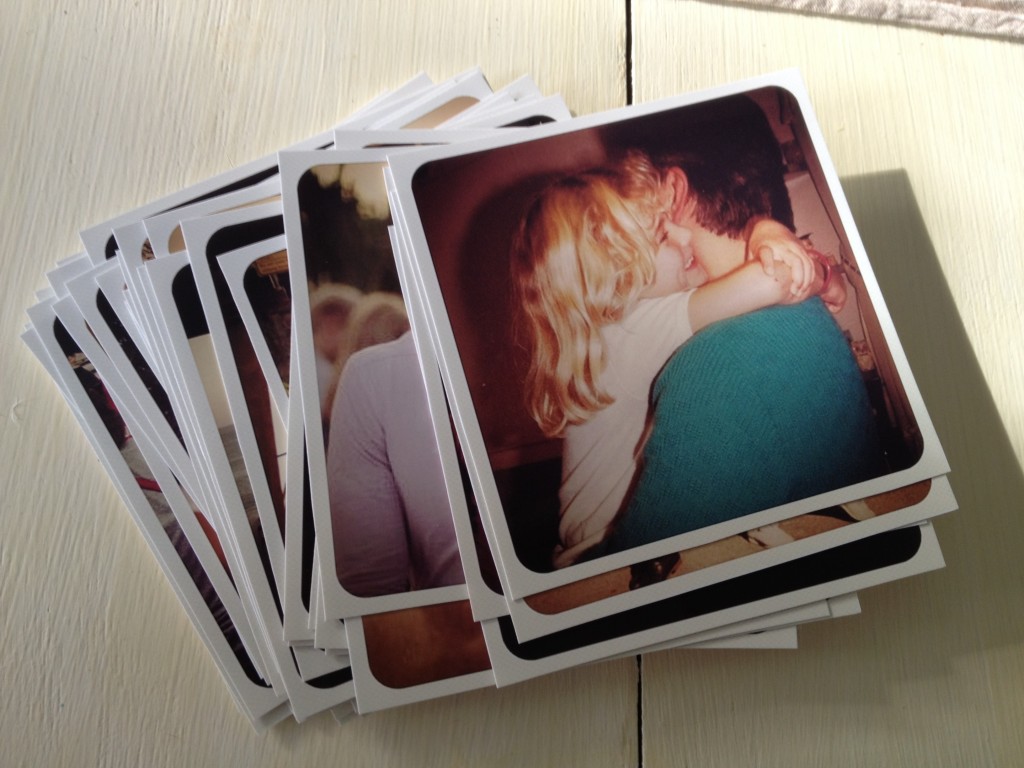
2. After I’d saved about 50 of my and Matt’s favorite pictures of us, our family and friends, I opened the Instagram app on my iPhone and went to crazy town. I Instagram-med each pic, one by one, in “Earlybird”, which – once you move ’em over to your computer – makes them all a uniform size of about 3″x3″ square shots with vintage trim:
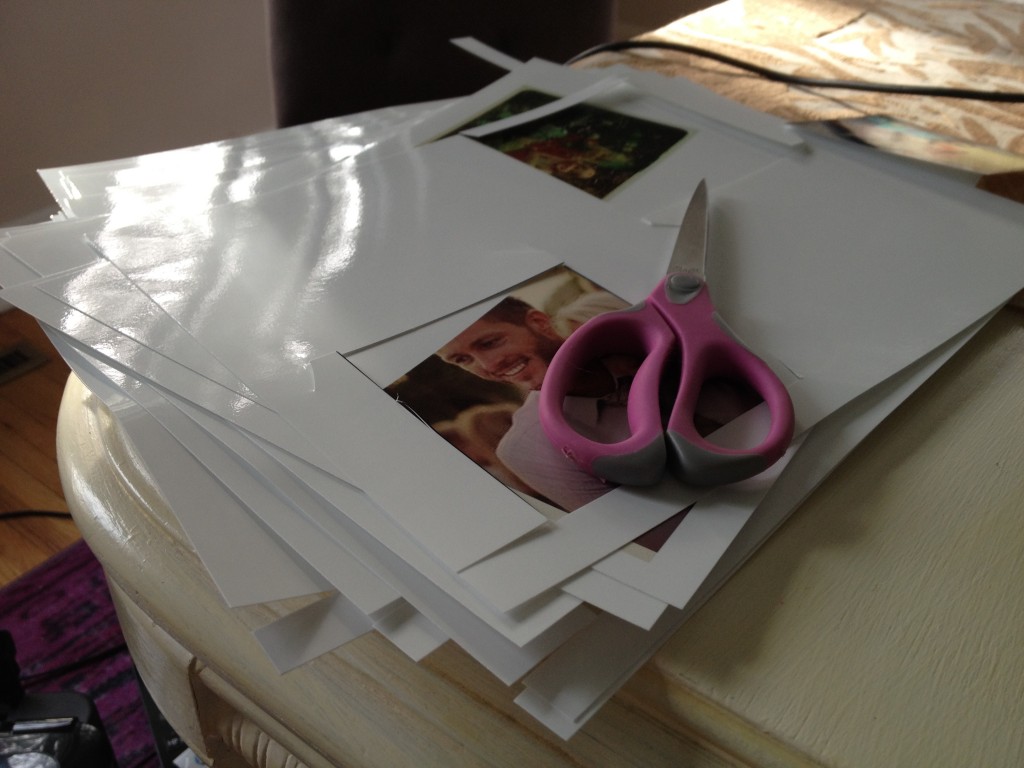
3. After I printed each pic on glossy photo paper (you can pick this up at an Office Depot or Staples), then came the real fun: trimming each picture with a pair of scissors. It’s a wonder my fingers still work.
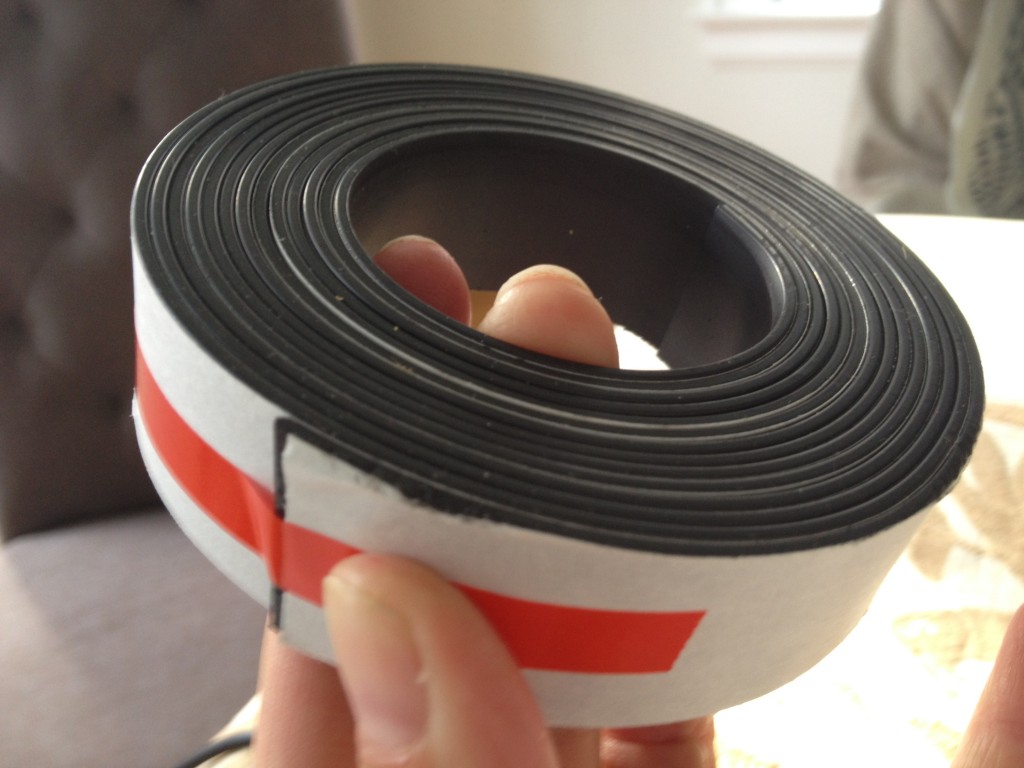
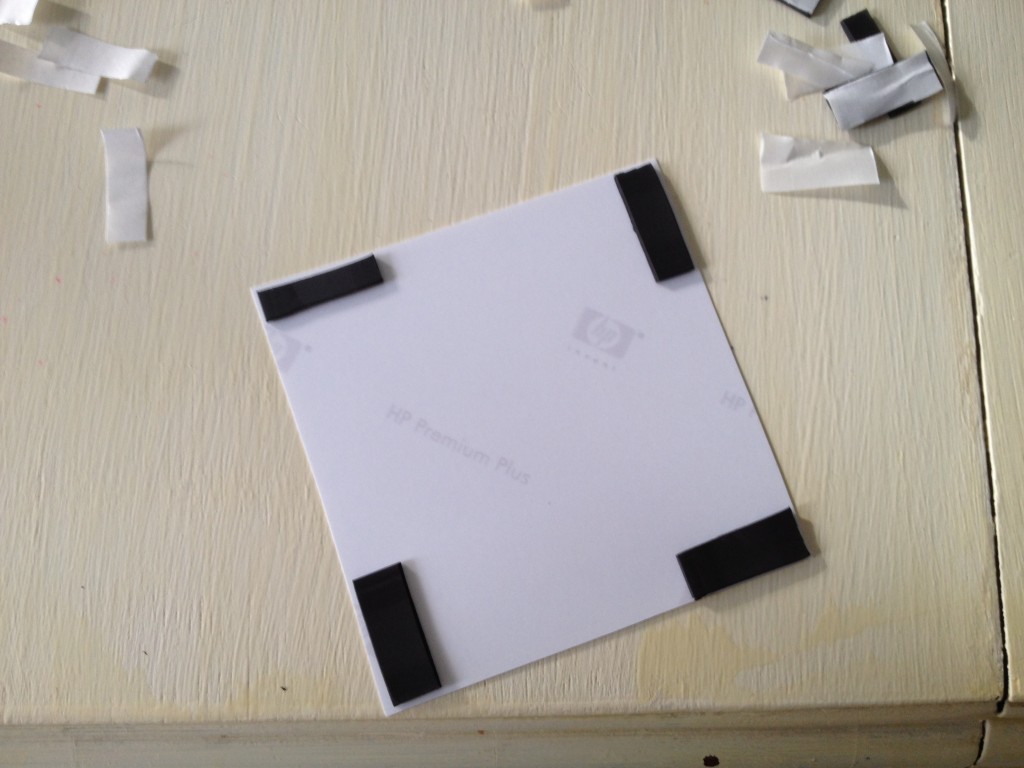
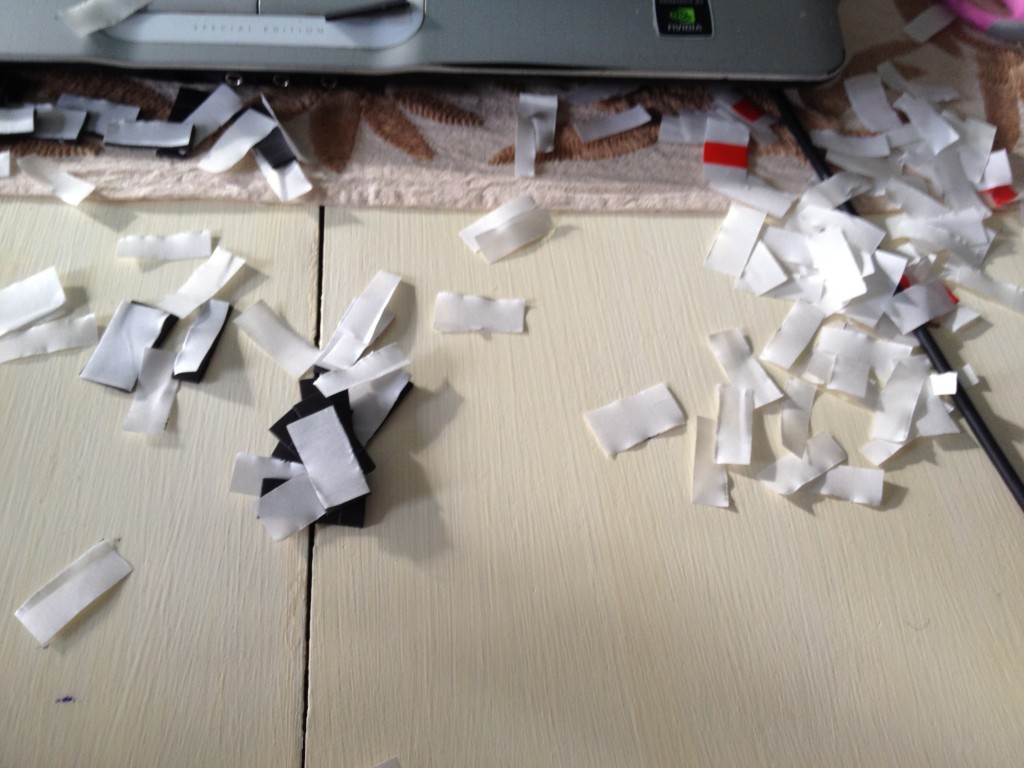
4. I got a big fat roll of magnet adhesive from Michael’s (pretty sure you could snag this at a Hobby Lobby or maybe even Target too), and cut off about a gazillion little slivers about 1 centimeter wide… then stuck one on each of the 4 corners on the back of each pic, as close to the edge as I could.
5. This is what the dining room table looked like when I was done… Too bad those aren’t edible, cuz if they were, I would’ve just swept ’em onto the floor and let Gus go to town.
6. But it was all worth my blood, sweat, tears, snipping, printing & trimming, cuz THIS is what my fridge looks like now:
Our holiday guests loved perusing all the pics, and I love seeing everyone I love’s face every morning when I go to guzzle Soy Milk out of the carton.
Fun weekend project?! Giddy up.
xoxo,





I love this! Time-intensive, but worth it. Colorful and I’d love to see all the pix of my loved ones up on my fridge every 20 minutes. Good job Stephy poo!
xoxo, Karrie
Oh, this looks like something I once saw in Domino Magazine… You have such an eye. Love this blog!
This is so inventive. Think I’m going to try this weekend…
Great idea! Do you think you could blog some more DIYs? You ladies are super creative (and gorgeous)!